Newsletter is a great way to grow your subscribers. You can share with your subscribers educational materials, industry trends, personal information, promotions for your products/courses/services etc. It is a great way to build relationship with your readers and subscribers. These subscribers can become your true fans as you continue to nurturing them.
In this post, we will demonstrate how easy it is to create a newsletter in ConvertKit:
First, create a newsletter sign-up form or landing page and embed it on WordPress site to collect the emails.
Second, add subscribers to newsletter funnel. You might have freebie offerings on other pages or posts of the website that are collecting emails, and the subscribers might consent to receive your newsletter as well.
Third, create your first newsletter and send to your audience who are interested to receive newsletters.
Create newsletter sign-up form or landing page & Embed on WordPress site
You can choose to create a sign-up form and embed it as a widget, an inline form, a popup, a slide-in form or sticky bar on your website. Follow this post to create a form.
Alternatively, if you prefer a landing page, follow this post to create a landing page.
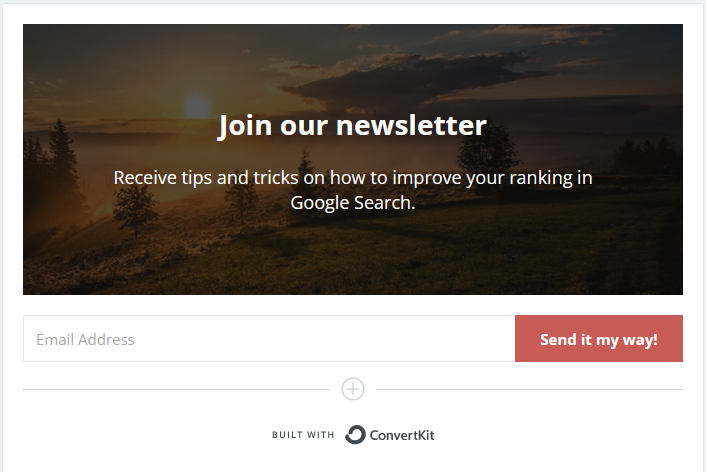
This is an example of email newsletter sign-up form named Newsletter SEO:
Optional Step: Tag newsletter subscribers
Next, we could tag the newsletter subscribers with “newsletter” tag. This can be done with a rule or a visual automation. This post explains how.
This is an optional step because even without a tag, you can still select your newsletter receivers in the later step “create broadcast” by add a filter “subscribed to a form Newsletter SEO”.
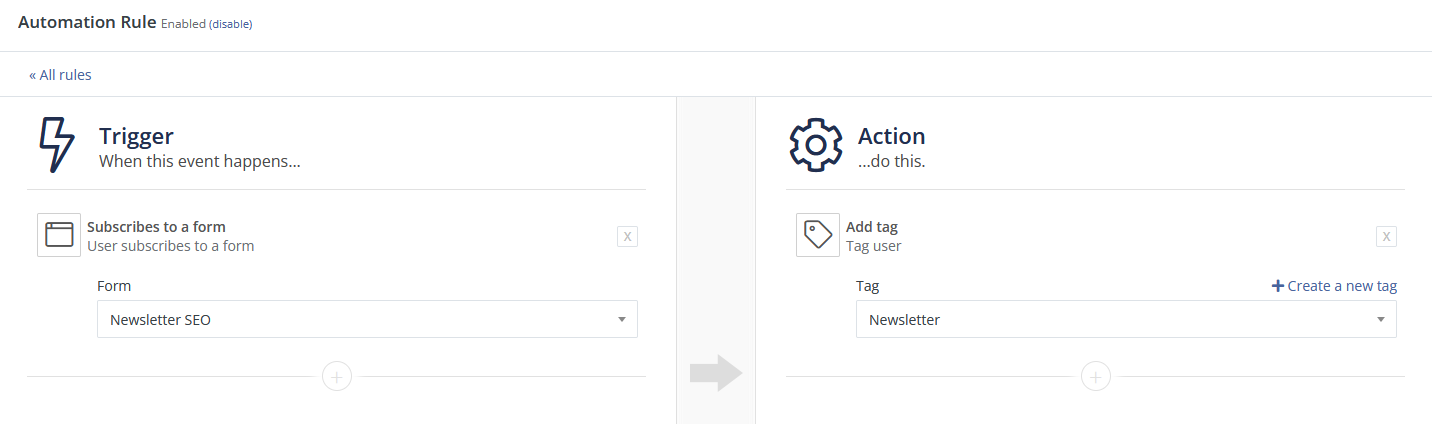
Add “newsletter” tag with a rule. This is how a rule could look like:
Add “newsletter” tag with visual automation. This is how a visual automation could look like:
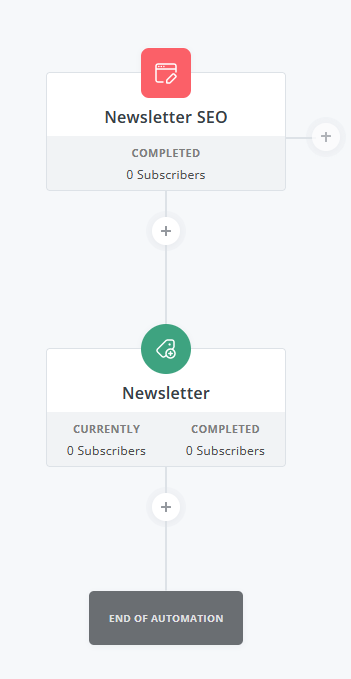
The rule or visual automation simply means tag anyone who subscribed to the Newsletter SEO form with the tag “newsletter”.
Create and publish newsletter
Newsletter is one-off email. In ConvertKit, it is broadcast.
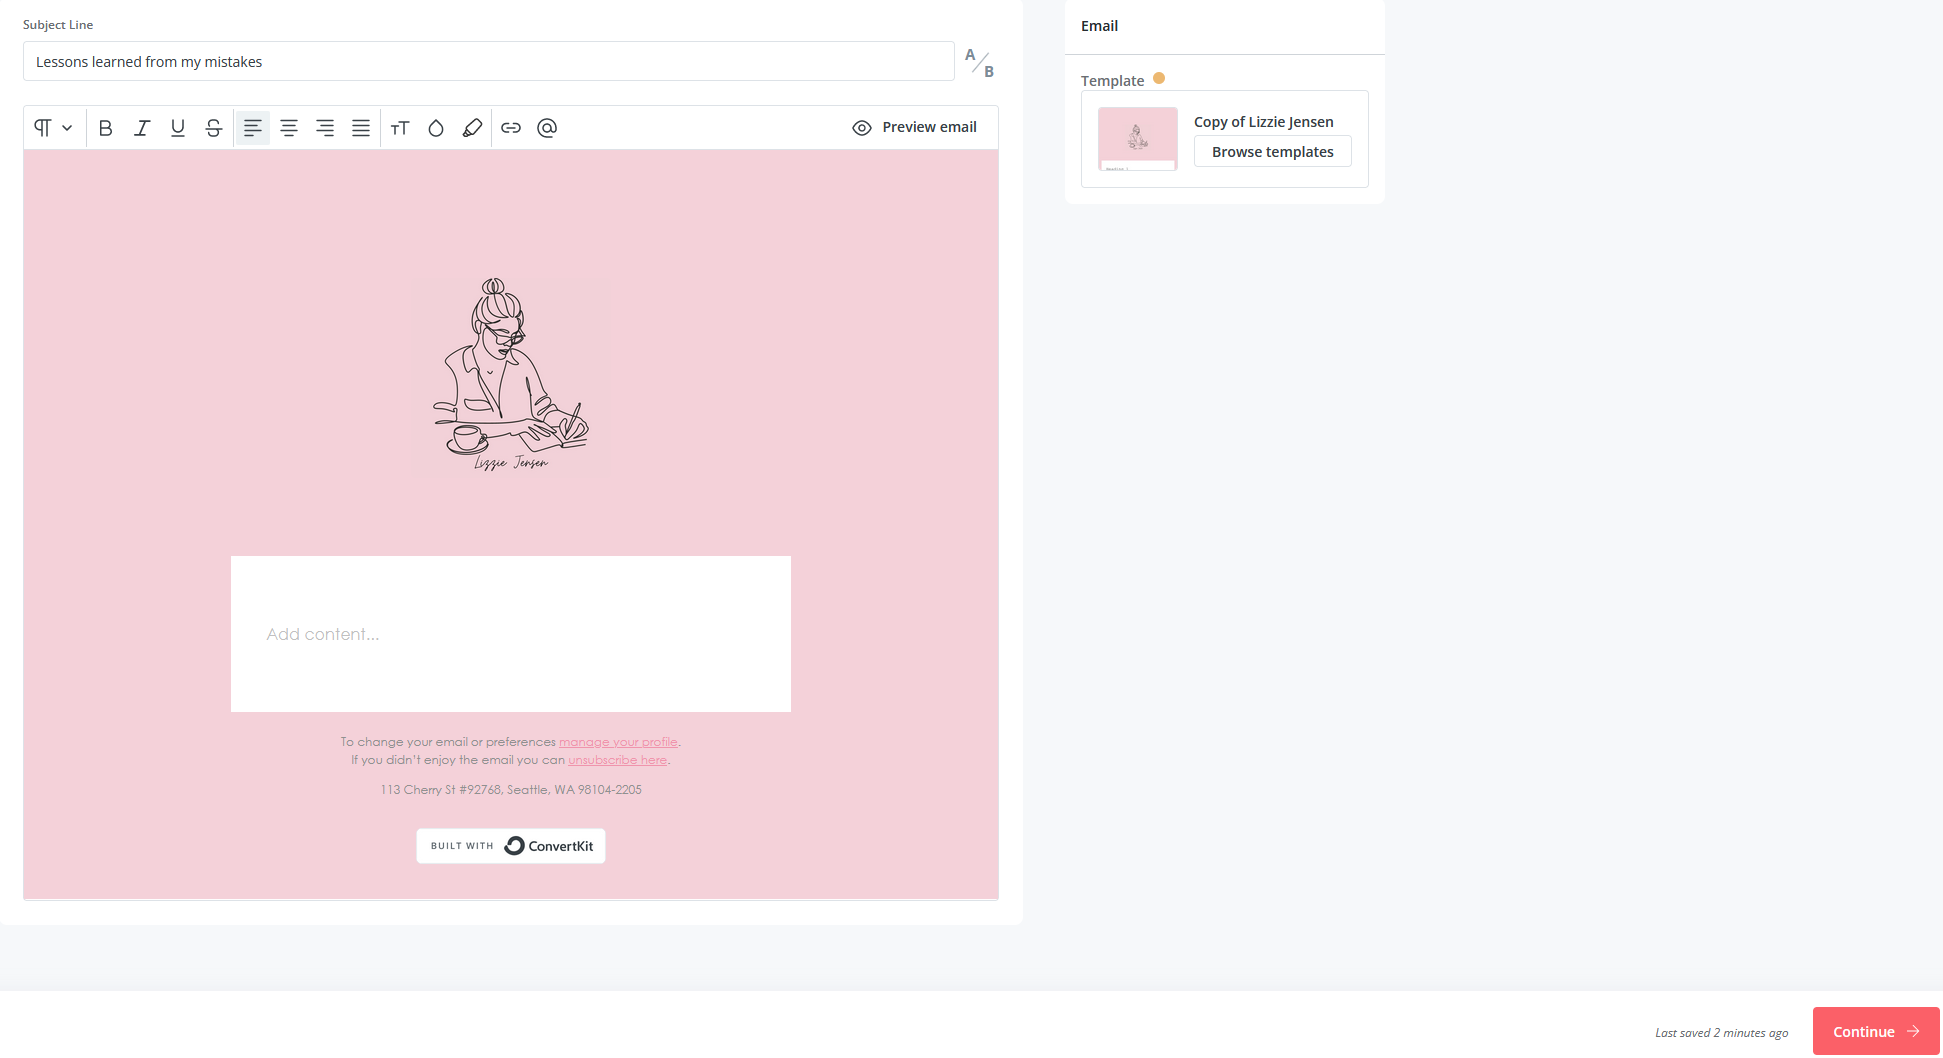
Draft newsletter content
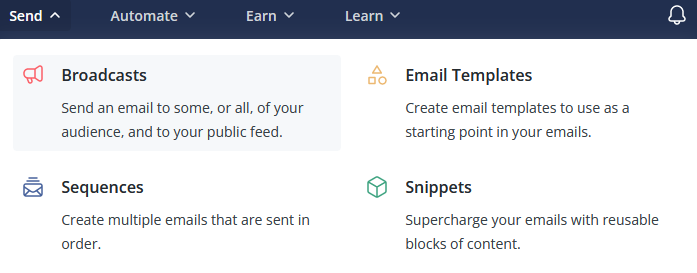
Go to Broadcasts under Send.
Click “New broadcast”

You will see many email templates that you can choose from. Select one that fits your newsletter need. Then give the subject line and add contents. Then click red “Continue” button on the right bottom corner.
Anytime, if you want to choose a different template, you can do so by clicking “Browse templates” on the right side to change.
Publish newsletter
There are 2 ways to publish a newsletter/broadcast: publish by “send email” or by “publish to web”. We will demonstrate each method.
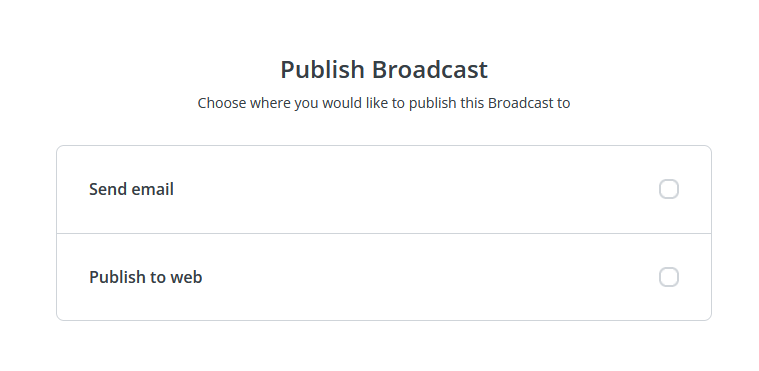
Publish broadcast by send email
Choose “Send email”.
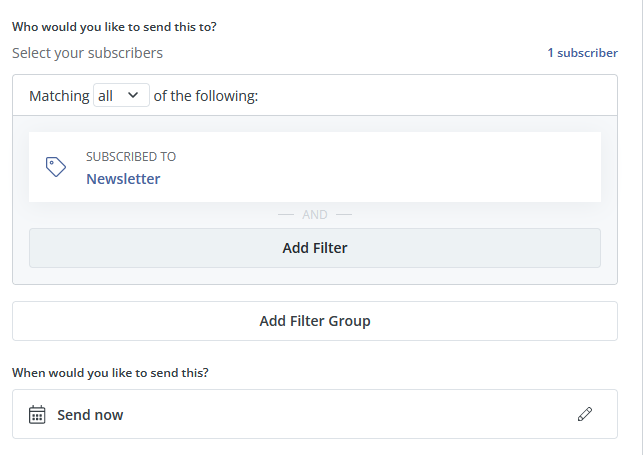
In “Select your subscribers” section, you can choose to send the newsletter to all subscribers, or add filters to send newsletters to specific groups of people. This is useful if you want to send different contents to people with different interests. For example, SEO beginner tips for SEO newbies, advanced SEO tips for people with intermediate SEO knowledge.
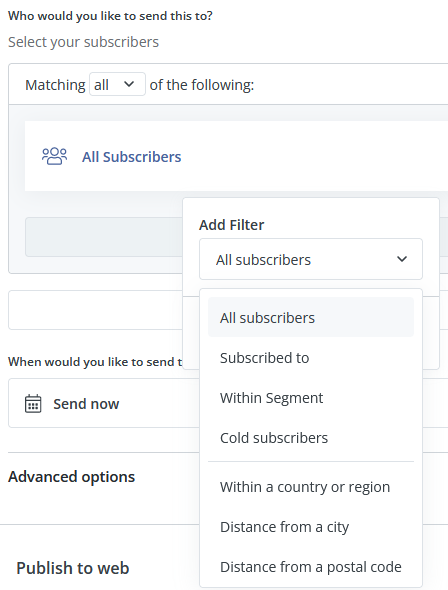
We will demonstrate in this post how to use “Subscribed to ” filter and “Within Segment” filter:
“Subscribed to” filter:
For example, we want to send this broadcast by email to people who have subscribed to form “Newsletter SEO”.
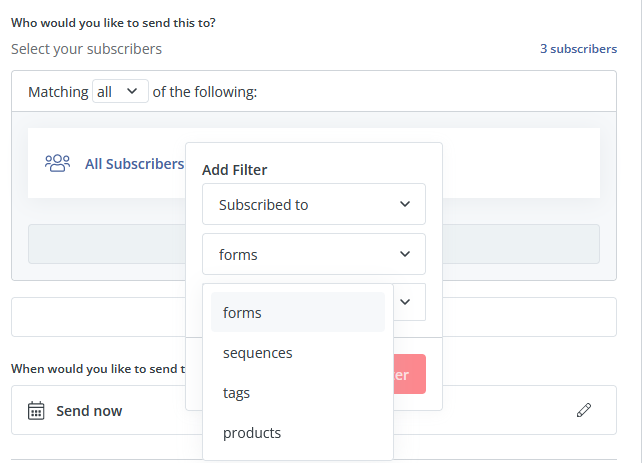
First, click “Add Filter”
Next, in the “Add Filter” drop-down list box, there are many options. Choose “Subscribed to” filter. You can choose “Subscribed to” forms, sequences, tags, or products.
Subscribed to forms
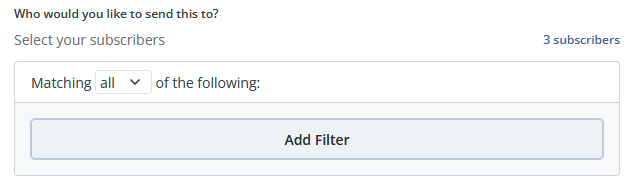
Then, choose “Subscribed to”, forms, and “Newsletter SEO” form.
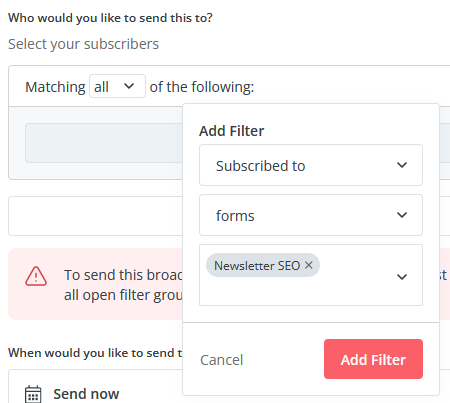
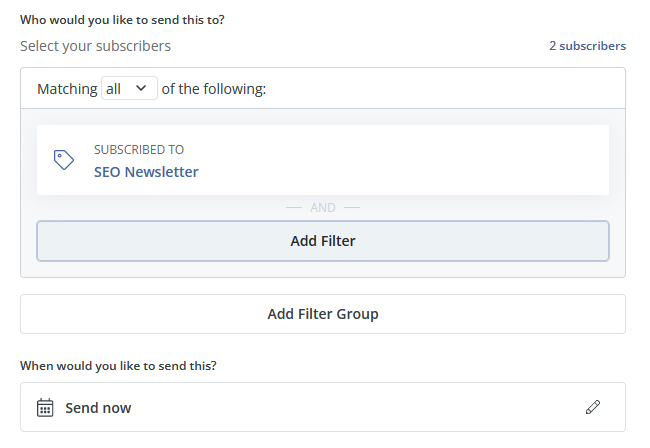
At the end, you’ll get something like this:
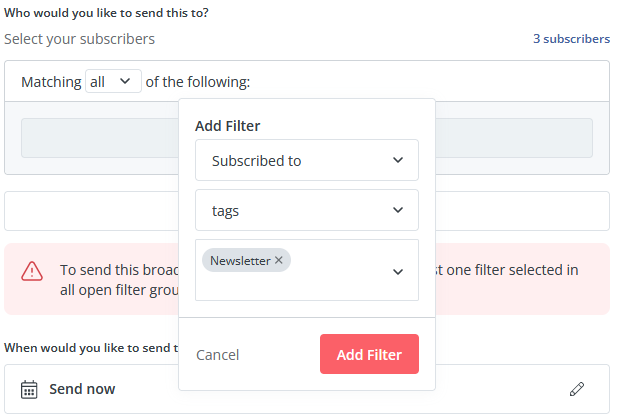
Subscribed to tags
Alternatively, we could use the tag “Newsletter” we created before as a filter. i.e. send this broadcast by email to people who have been tagged “Newsletter”.
“Within Segment” filter:
Now, we will use “Within Segment” filter to narrow down the subscribers. But first, we will need to create a segment.
Create segment
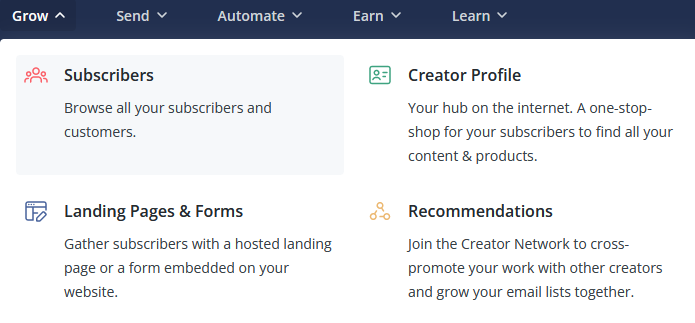
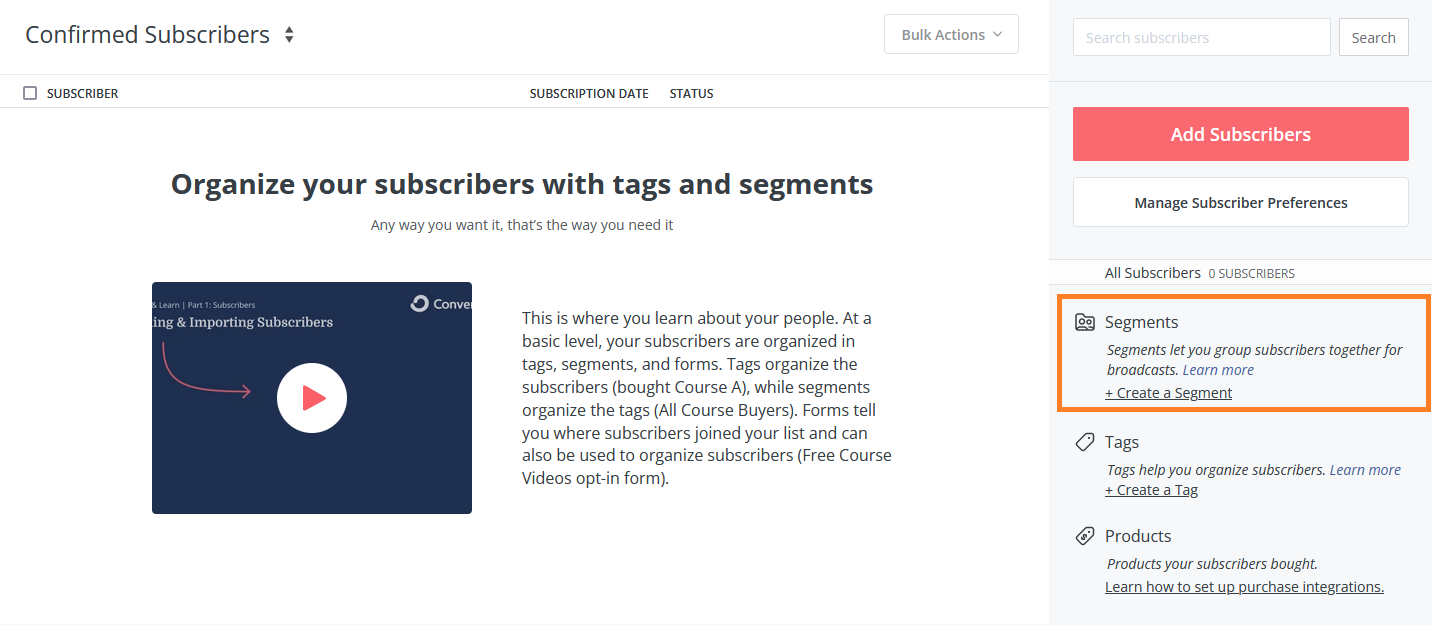
Go to Subscribers under Grow
On the right side, Segments section, click “Create a Segment”
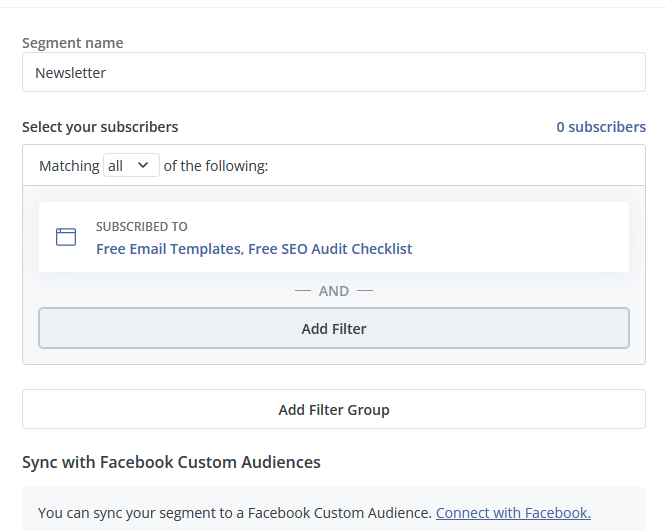
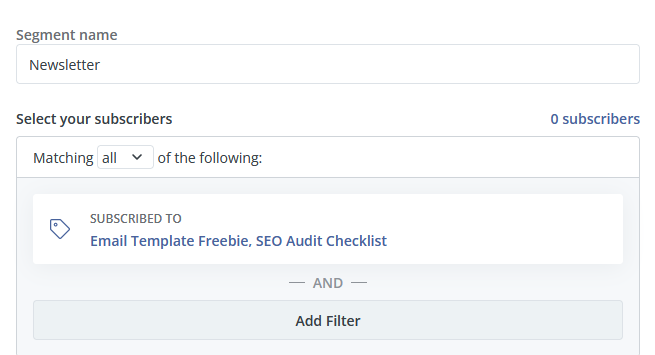
Option 1: Create segment based on the forms subscribers subscribed to.
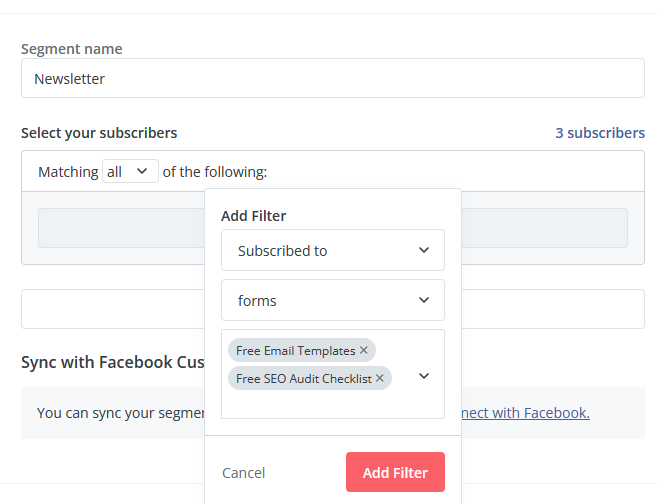
Newsletter segment contains subscribers who’ve subscribed to 2 forms: “Free Email Templates” and “Free SEO Audit Checklist”. These 2 forms are freebies offered as lead magnet on the website.
Option 2: Segment can also be created based on tags. Assuming tags “Email Template Freebie” and “SEO Audit Checklist” have been created beforehand.
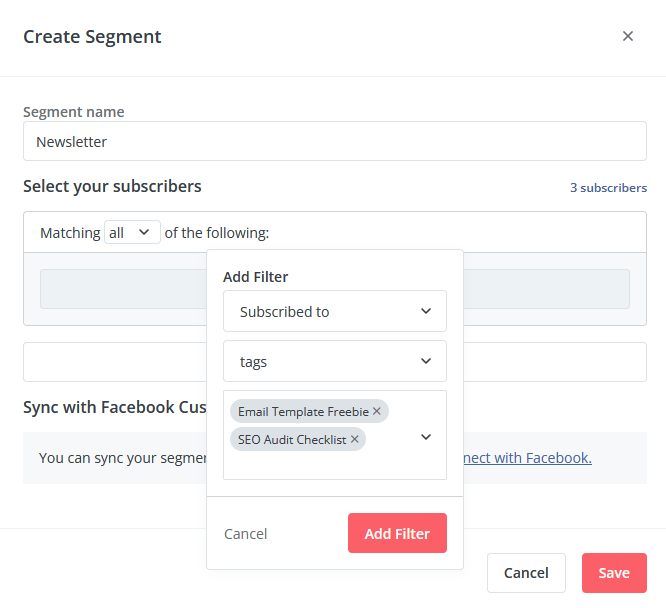
Click the red button “Add Filter”.
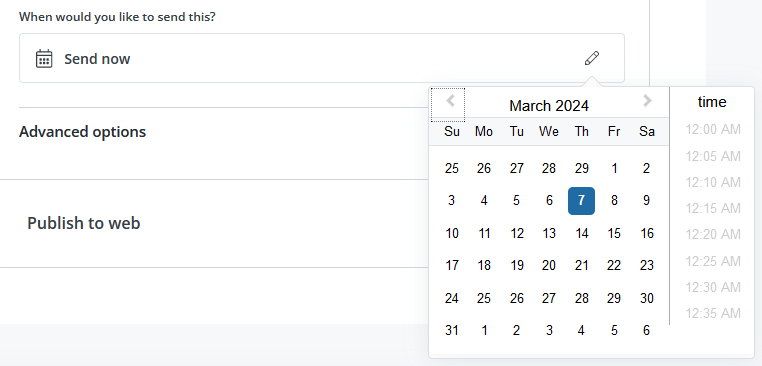
After choosing subscribers, schedule when the newsletter should be sent.
Schedule when to send the newsletter.
Click Continue -> button at the bottom
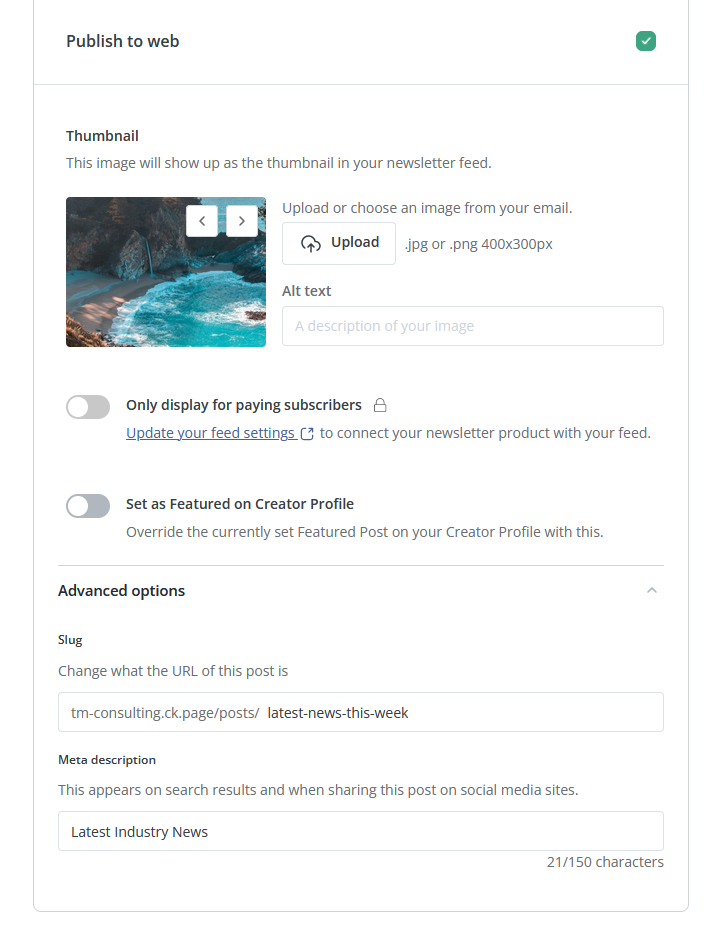
Publish to web
Instead of choosing publish by “Send email”, you can choose to publish to web.
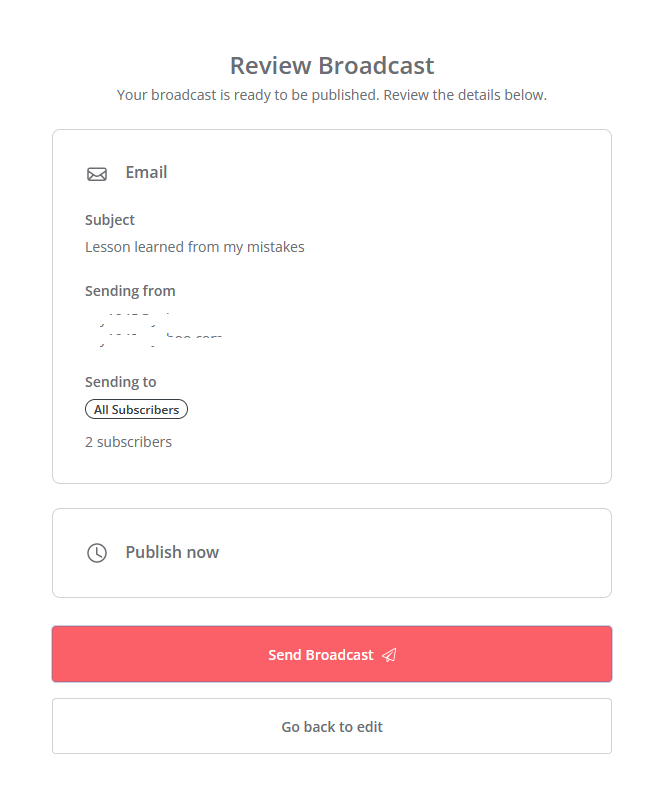
Review newsletter before sending
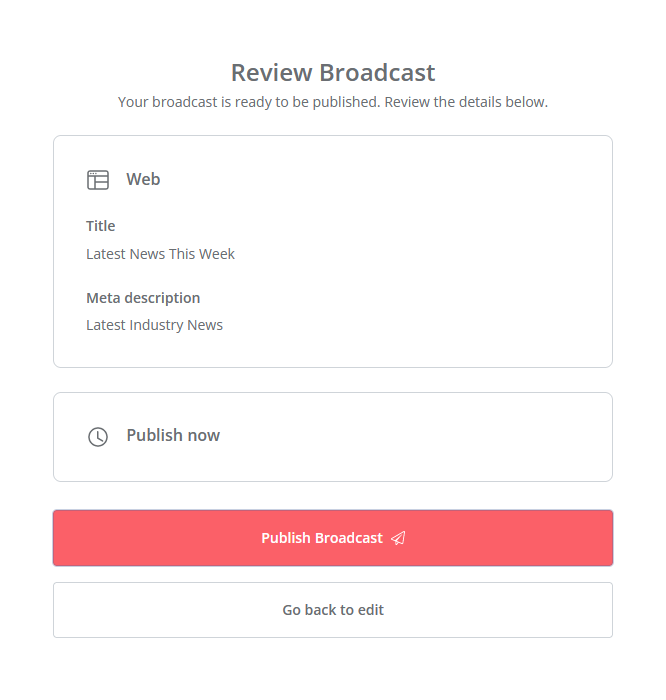
Once you’re fine with the newsletter, publish Broadcast.
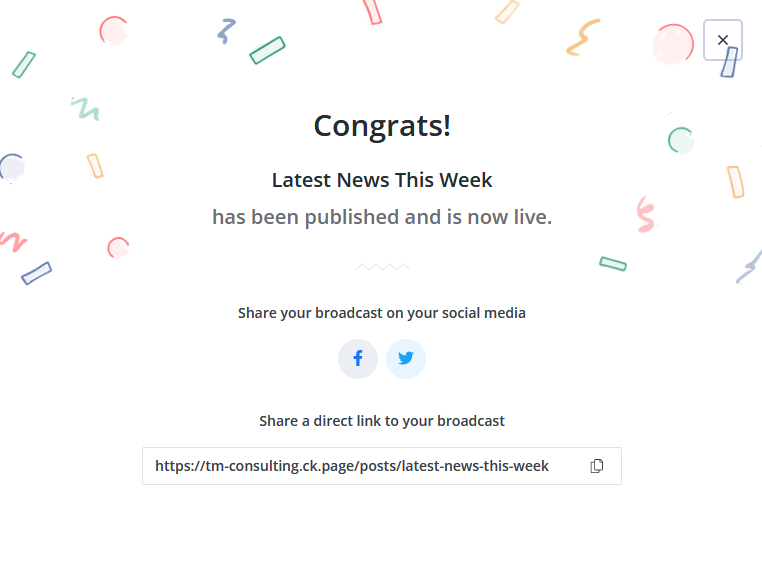
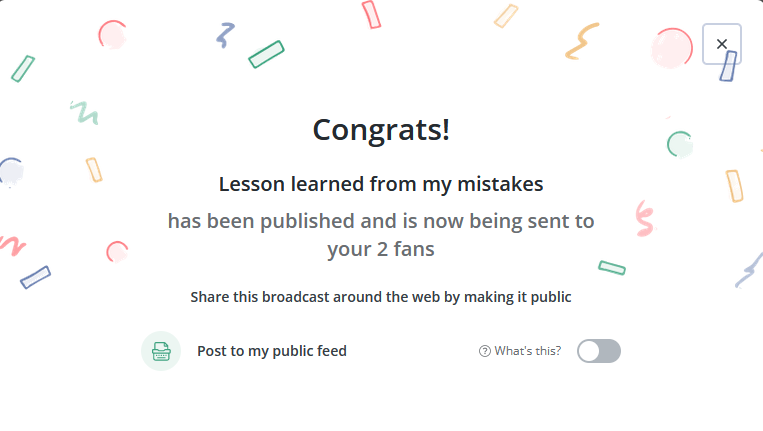
Voila! You’ve created your first newsletter!