Often you want to use a freebie as a lead magnet on your website to capture the leads’ emails.
This guide walks you through the steps to create a freebie offering using ConvertKit and then add subscribers’ emails to the newsletter funnel.
Create a freebie offering
This example uses form to capture the emails of people who are interested in this freebie. Alternatively you can use landing page, which works the same way.
Check out this post to create a form for the freebie offering and embed the form on your WordPress site.
Check out this post to create a landing page for the freebie offering and embed the page on your WordPress site.
This is how our example freebie offering looks like:
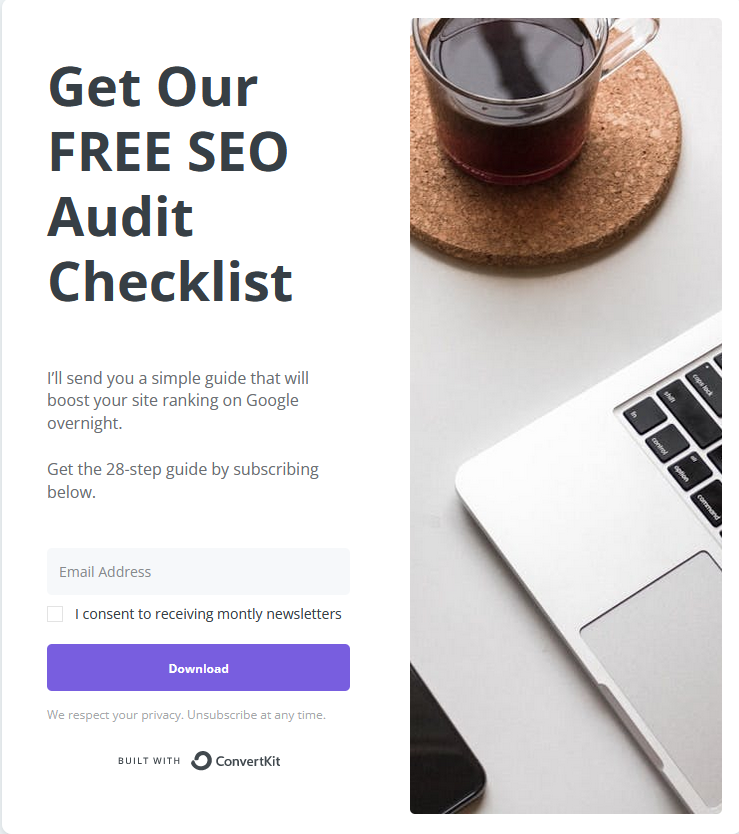
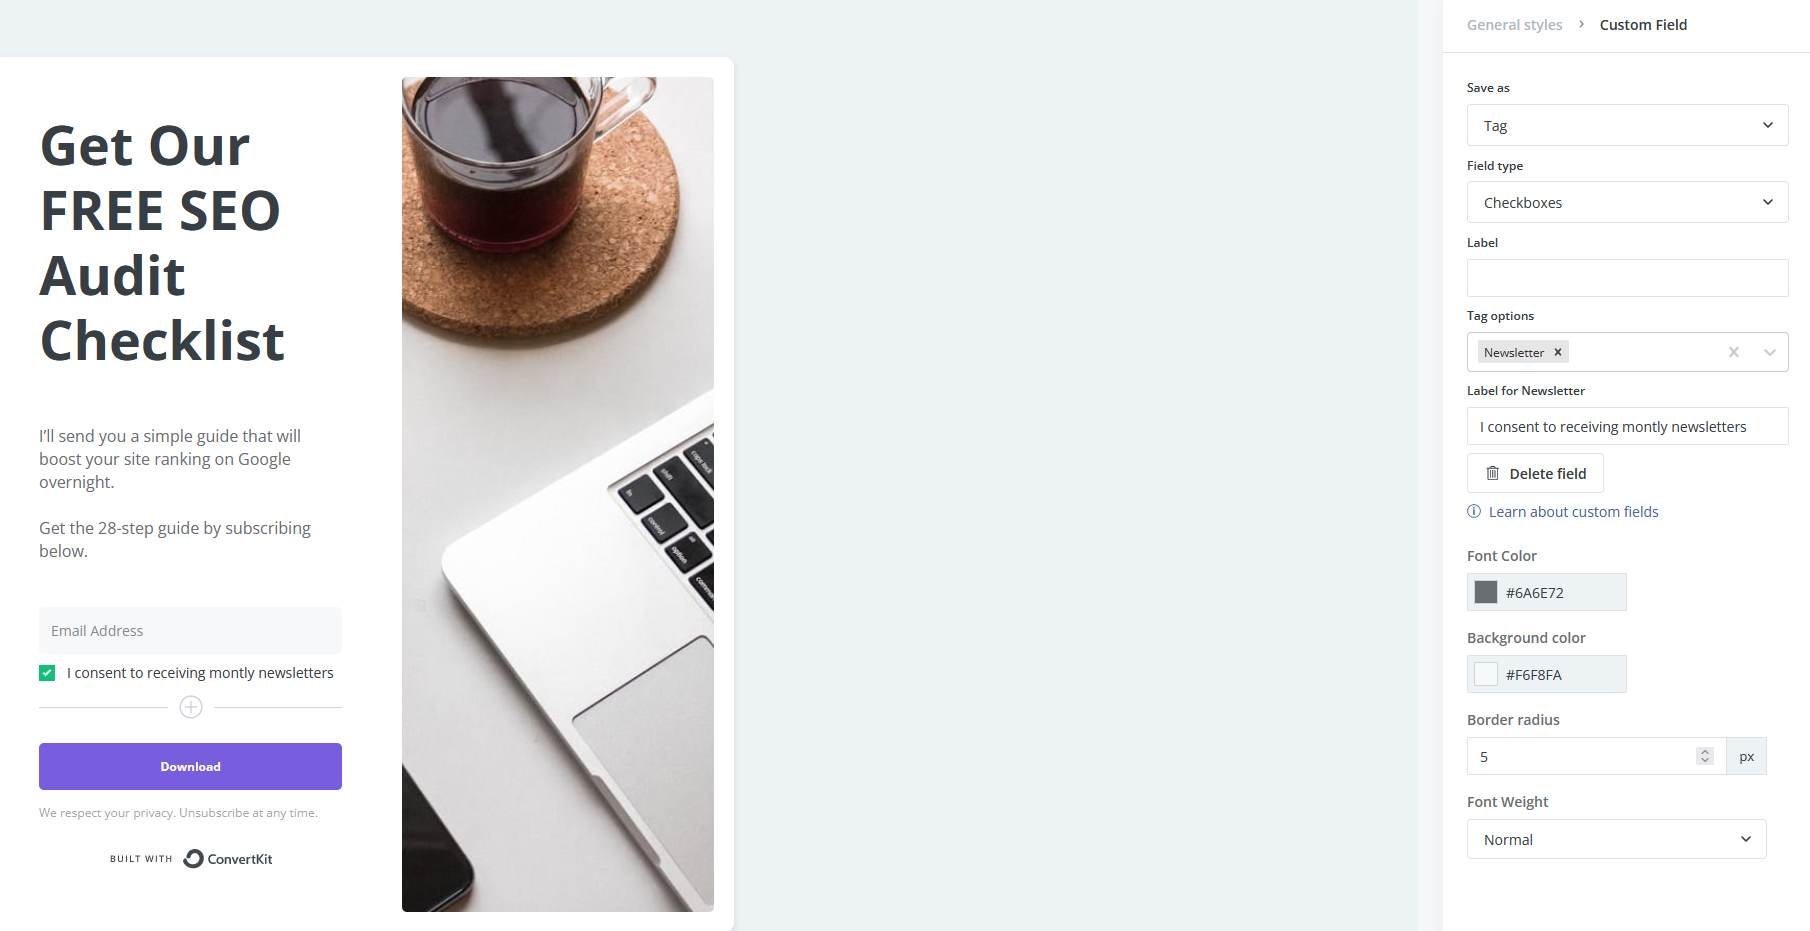
As you can see, I have added a little “extra” underneath the email address field – whether the subscribers for freebie would like to receive newsletters as well. This is for GDPR compliance. If the checkbox is checked, the subscribers will be assigned a tag e.g., newsletter.
What is a tag in ConvertKit?
Since ConvertKit is subscriber-centric, which means that there is one list of subscribers. Tags allow you to organize and group your subscribers based on actions, interest or more. Tags help you keep that one list organized. Here we can use tag (e.g. SEO Audit Checklist) to indicate these subscribers are coming from this SEO Audit Checklist freebie.
How to add a tag to subscribers?
We can assign the tag either by rules or by visual automation.
Option 1: Add tag using rules
Create a rule to tag the subscribers as “Newsletters”. This is a quick and easy to assign a tag to subscribers.
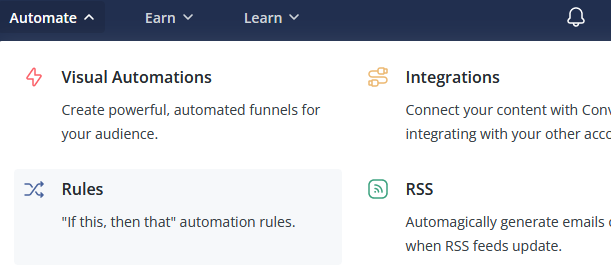
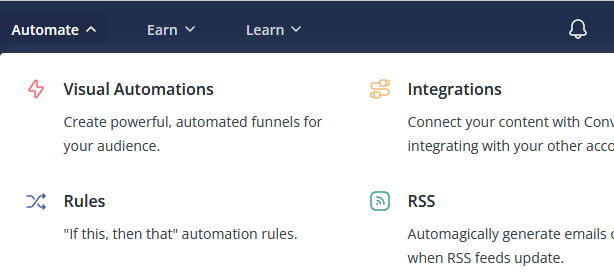
Go to Rules under Automate in the navigation.
If you already created rules before, you’ll see a list of existing rules. Click “New rule”

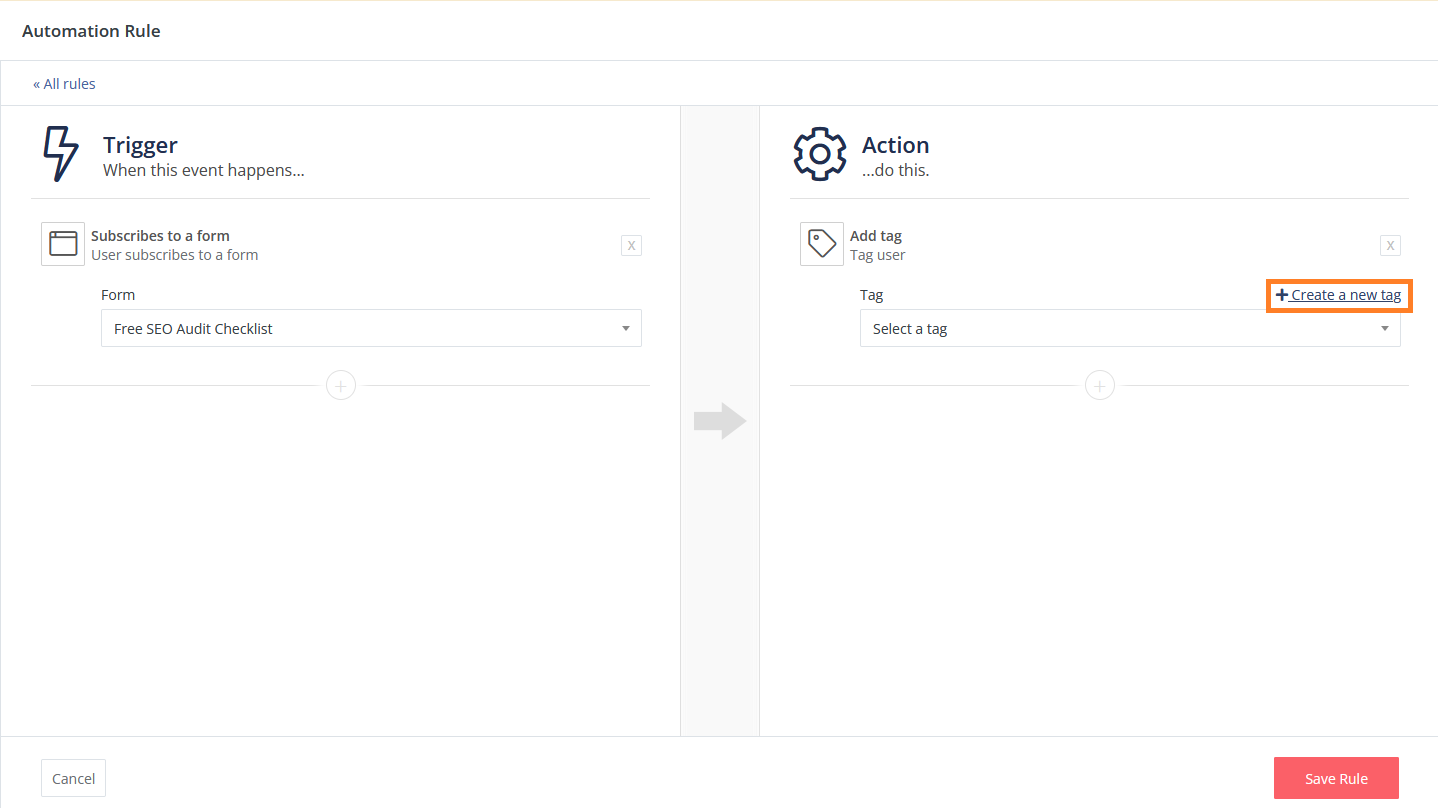
Choose the Trigger “Subscribes to a form” and the Action “Add tag”
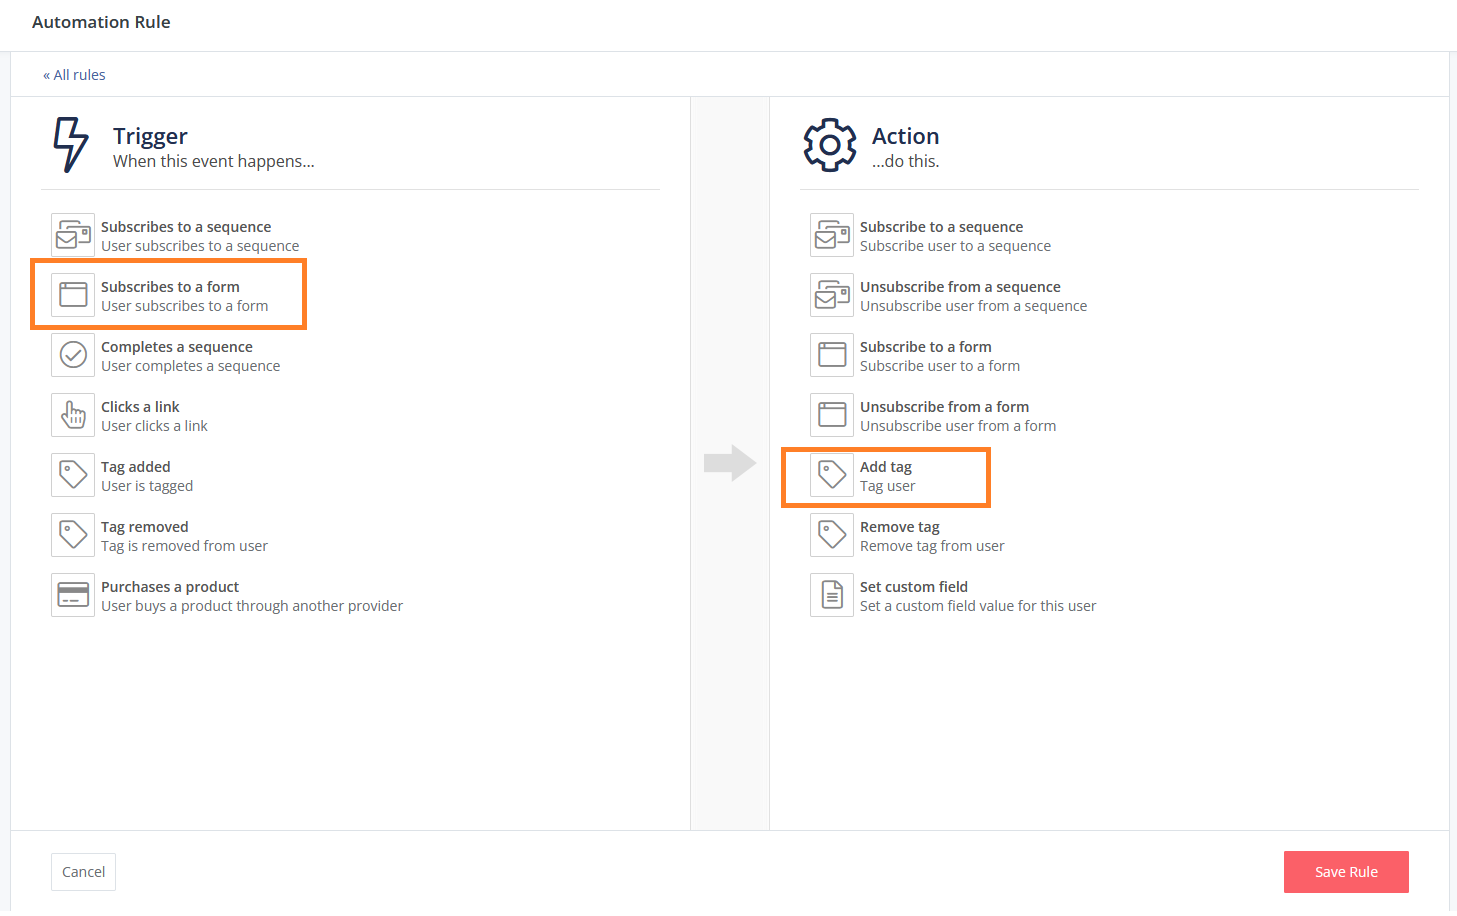
Select the freebie form (Free SEO Audit Chcklist) from the drop-down list box on the left. Then select the tag from the drop-down list box on the right. You can also create a new tag and select it.
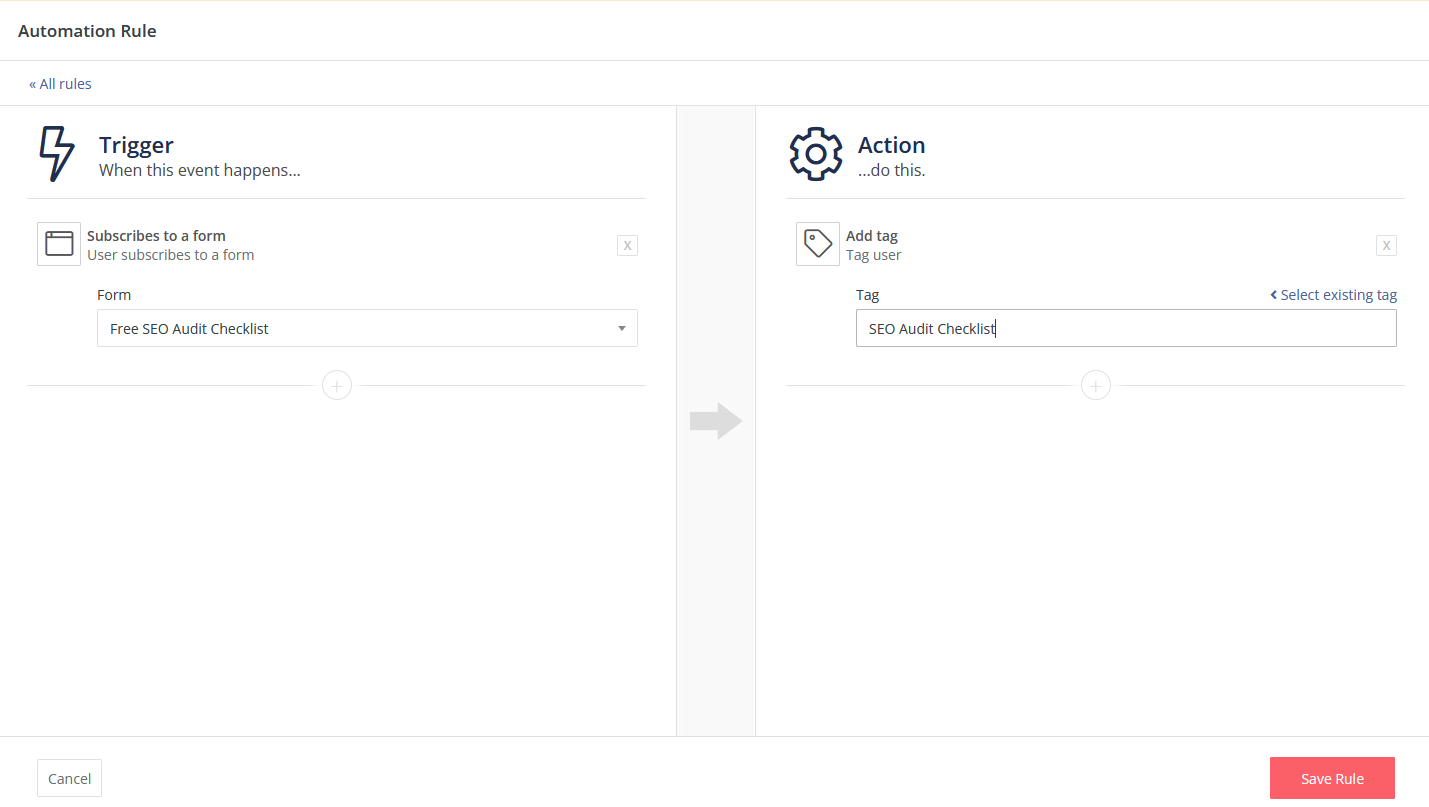
Click “Save Rule“.

NOTE: multiple tags can be assigned to one subscriber. For instance, in the example above, the subscribers will be tagged as newsletter and SEO Audit Checklist.
Option 2: Create Visual Automation
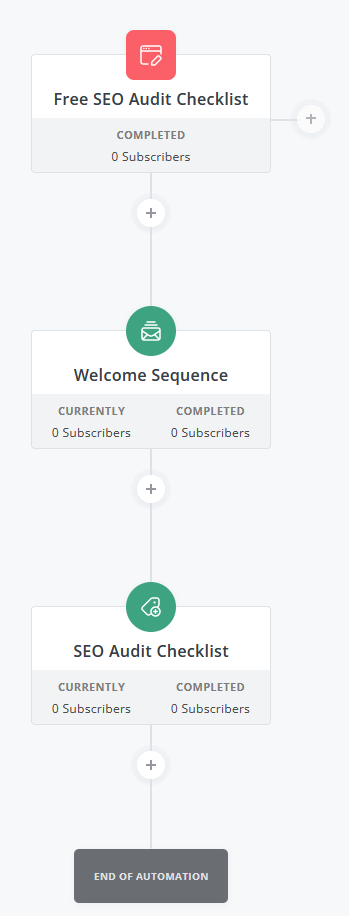
Visual automation provides a more sophisticated way to create a workflow. For example, if you would like to send the subscribers not only one email to confirm their subscription, but also a email sequence to welcome them, then tag them as “Newsletters”. This can be done using Visual Automation.
Go to Visual Automation under Automate.
When the subscriber joins Free SEO Audit Checklist form, a sequence of welcome emails will be sent to the subscribers, and also add “Newsletter” tag to these subscribers.
Once automation is ready to be published, switch it to “Live”

Add subscribers to newsletter funnel
Next, let’s add the freebie subscribers to the newsletter funnel.
We have assigned “Newsletters” tag to all our newsletter subscribers in ConvertKit when they sign up. We will assign the same tag to the freebie sign-ups.