Similar to the form creation, it is simple and easy to create a landing page in ConvertKit.
Go to Landing Pages & Forms under the Grow in the navigation.
If you’ve already created landing pages, you will see a list of landing pages. Otherwise, click the red button “Create new”.

After that, you’ll be popped to create a Form or Landing Page. Choose “Landing Page”.

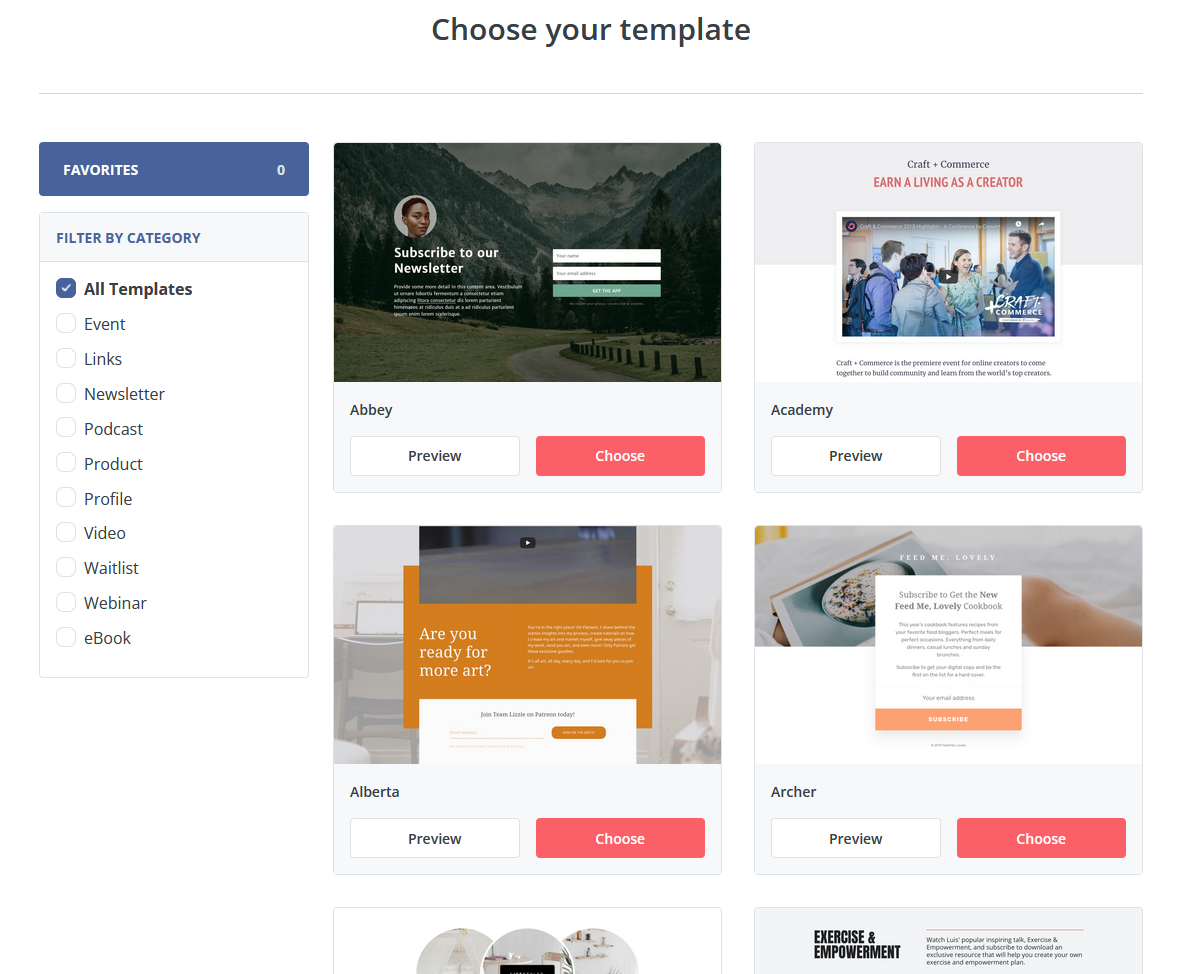
You will see a list of templates to choose from, you can filter by category to find the landing page templates quickly. Once you decide on the template, click the red “Choose” button under the template.
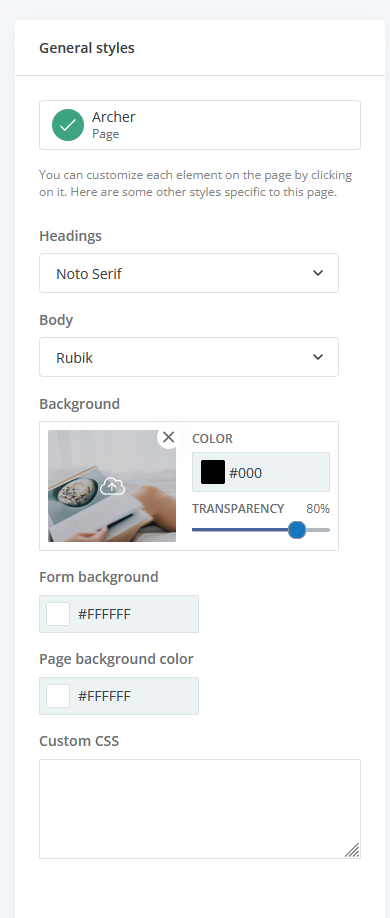
On the right side of the landing page, you can customize the colour, the font to your liking.
Next, configure the landing page setting. Click “Settings”

General, Domain Name, Incentive, Advanced settings are the same as the form settings. This post explains how to configure these settings.
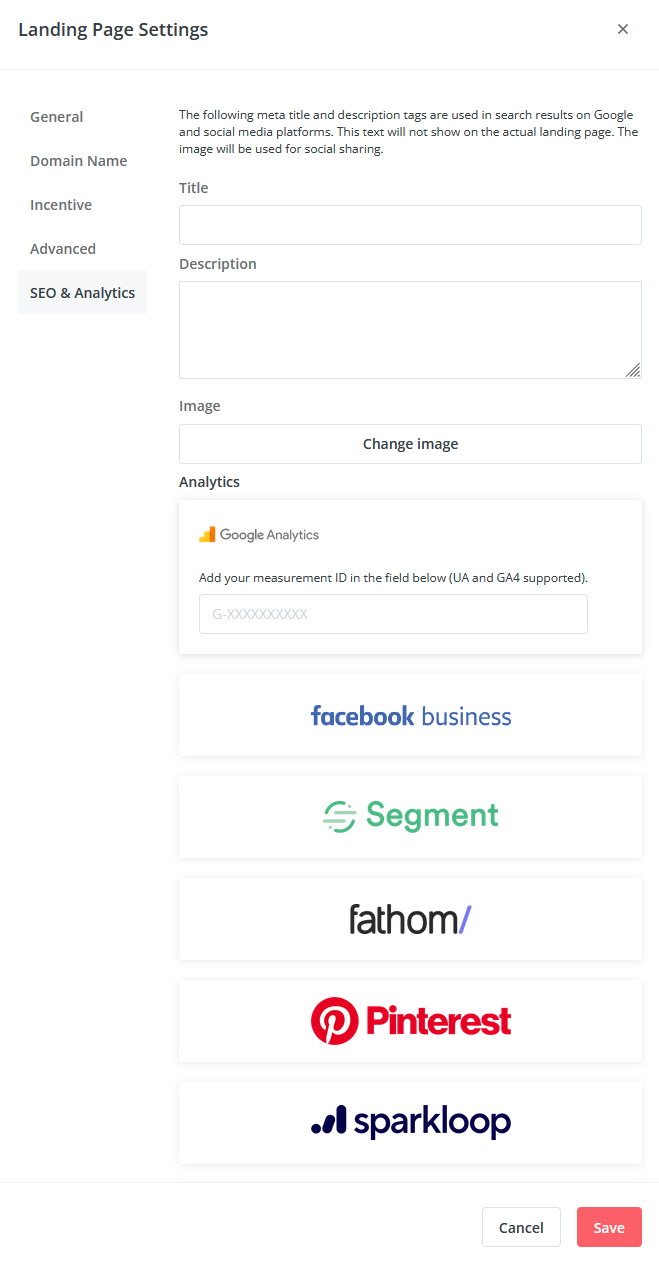
SEO & Analytics is the setting specific for the landing page. Choose the Analytics you like to use, then provide either key or ID it requires.
Click “Save” to save the settings.
Next, you can save the landing page and come back later to edit. Once you are satisfied with the landing page, click red “Publish” button. You have multiple options: share the landing page on Facebook or twitter. or you can grab the link and send to your audience. If you want to embed it in your WordPress site, click the “WordPress” at the end, it will direct you to ConvertKit’s post that explains how to do so.

Congratulations! You’ve created a landing page!