If you’ve been using ConvertKit for your email marketing, ConvertKit Commerce facilitates the collection of payments.
This post covers the following scenario:
HTML email template priced at $14.99: can be both purchased from the website, and part of a freebie funnel. And the buyers will be added to the newsletter funnel afterwards.
First, we will create the product – HTML email template priced at $14.99 – in ConvertKit Commerce
Second, we will add this product to the website and to the freebie offering created in this post as a part of freebie funnel.
Finally, add the purchasers to the newsletter funnel assuming they have been consent to receive newsletters.
Without further due, let’s dive in.
Set up ConvertKit Commerce
We will go step-by-step to set up all required pieces by ConvertKit Commerce:
- Set up payment
- Set up product
- Configure checkout page
- Configure confirmation page
- Draft receipt email
Set up payment
- Once you log in to your ConvertKit account, click on “Earn -> Products”

2. If it is the first-time for you to create a product, you will see 2 options: “Create a product” or “Set up payments”.
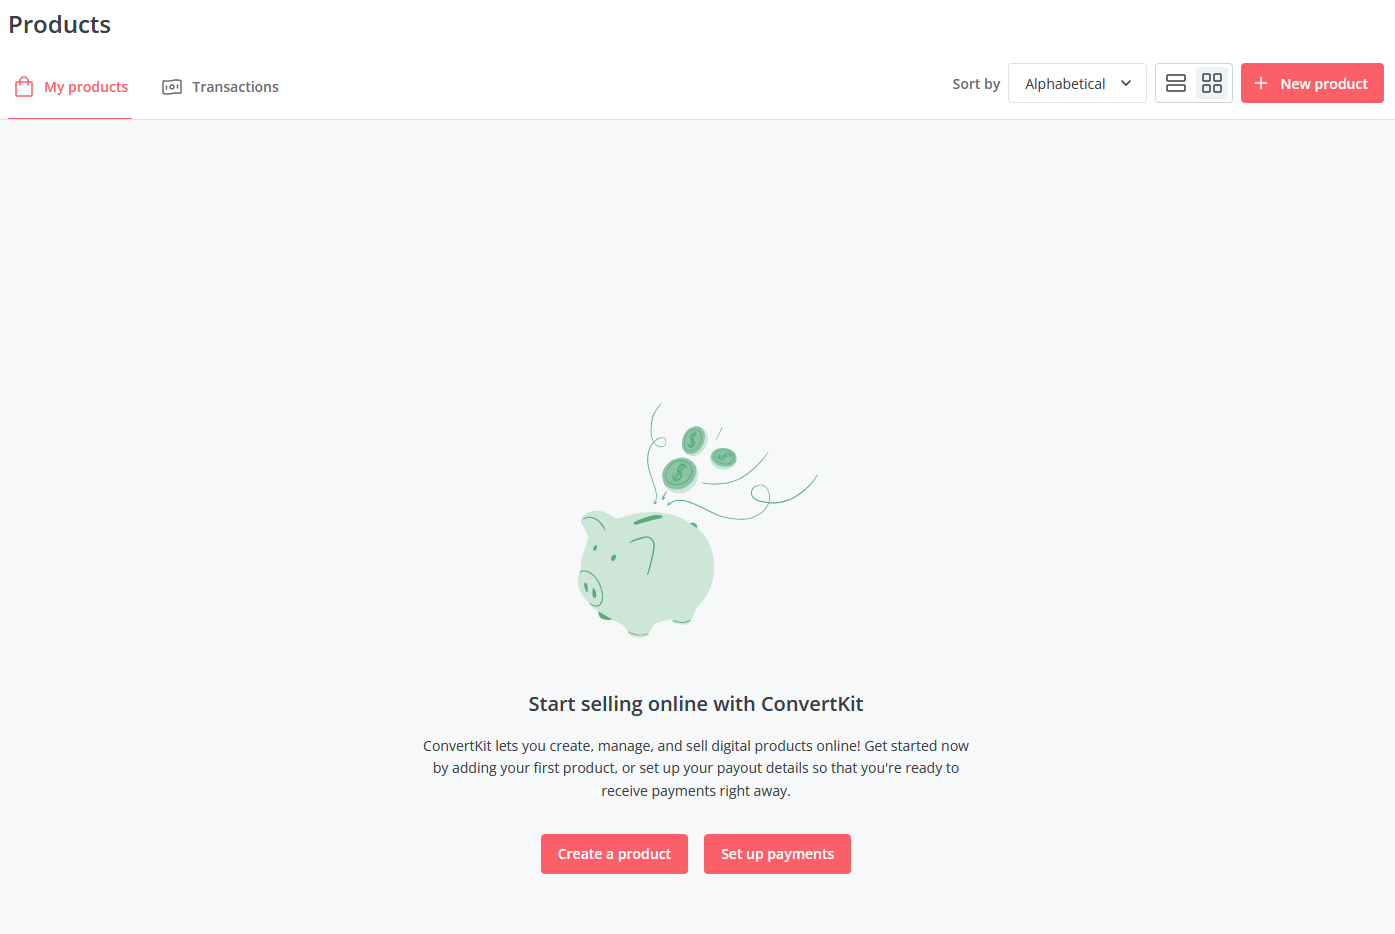
You can start with either option. If you choose to create a product first, you won’t be able to publish the product until the payment is set up. However you can set up the payment by following the blue bar on the top anytime. It is not hard to set up the payments, just follow the prompts to enter the information required.

Create a product
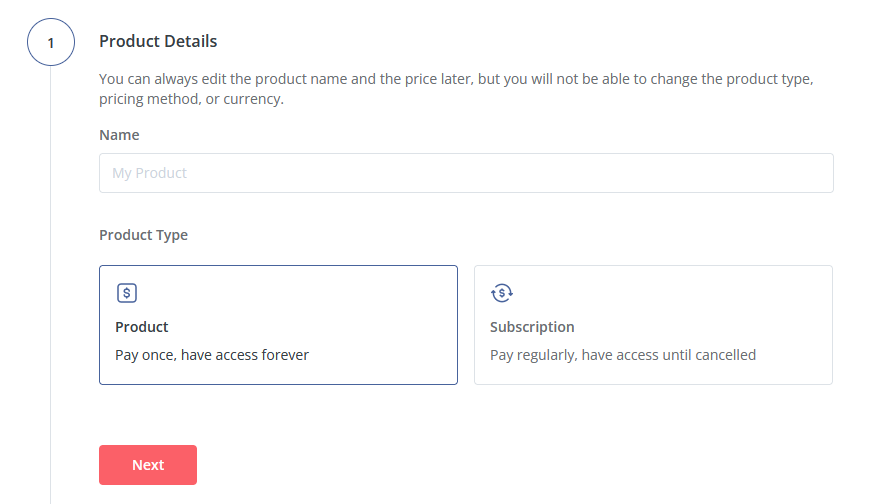
- Product: Choose this product type if you want customers to pay a one-time fee to get access to your product forever
- Subscription: Choose this product type if you want customers to pay a recurring charge for your product and will have access to it until they cancel their payments.
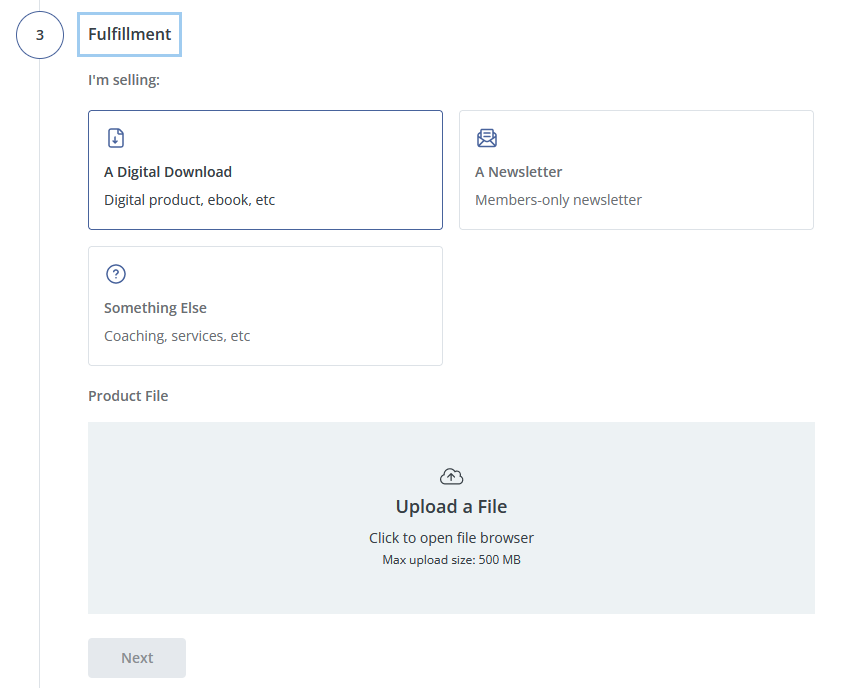
If it is a digital download (for example, eBook), make sure to upload the digital asset in the Product File section.
If Newsletter or Something Else is selected, Product File section will disappear.
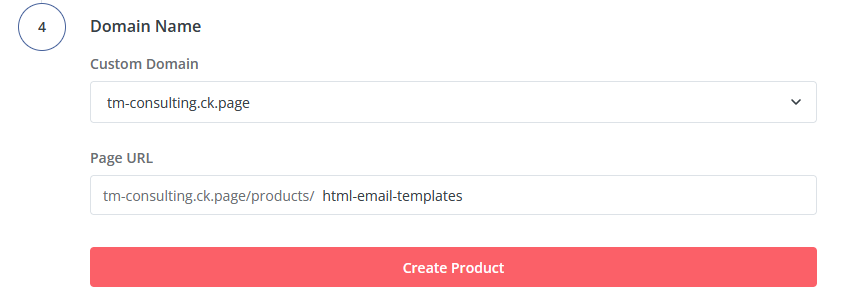
You can use the default account domain of ConvertKit e.g. tm-consulting.ck.page in the example above.
An account domain is a subdomain on ConvertKit’s ck.page URL, on which ConvertKit hosts opt-ins and products for you (e.g. your-business-name.ck.page).
A custom domain is a domain, or subdomain, that you own and want to use for your opt-ins and products (e.g. yourdomain.com or pages.yourdomain.com).
Using ConvertKit’s default ck.page URLs is straightforward, no action is required. You can share this link directly in your social media. On the other hand, configuring custom domain is a technical task that requires DNS changes. ConvertKit provides a how-to in this post. If you would prefer to have someone done for your, feel free to contact us.
Click “Create Product”. Congratulations! You’ve created your first product.
Next, you’ll be led to the builder page for that product, where you can customize the color, font, add product image, provide product detailed description etc, which will initially look something like this:
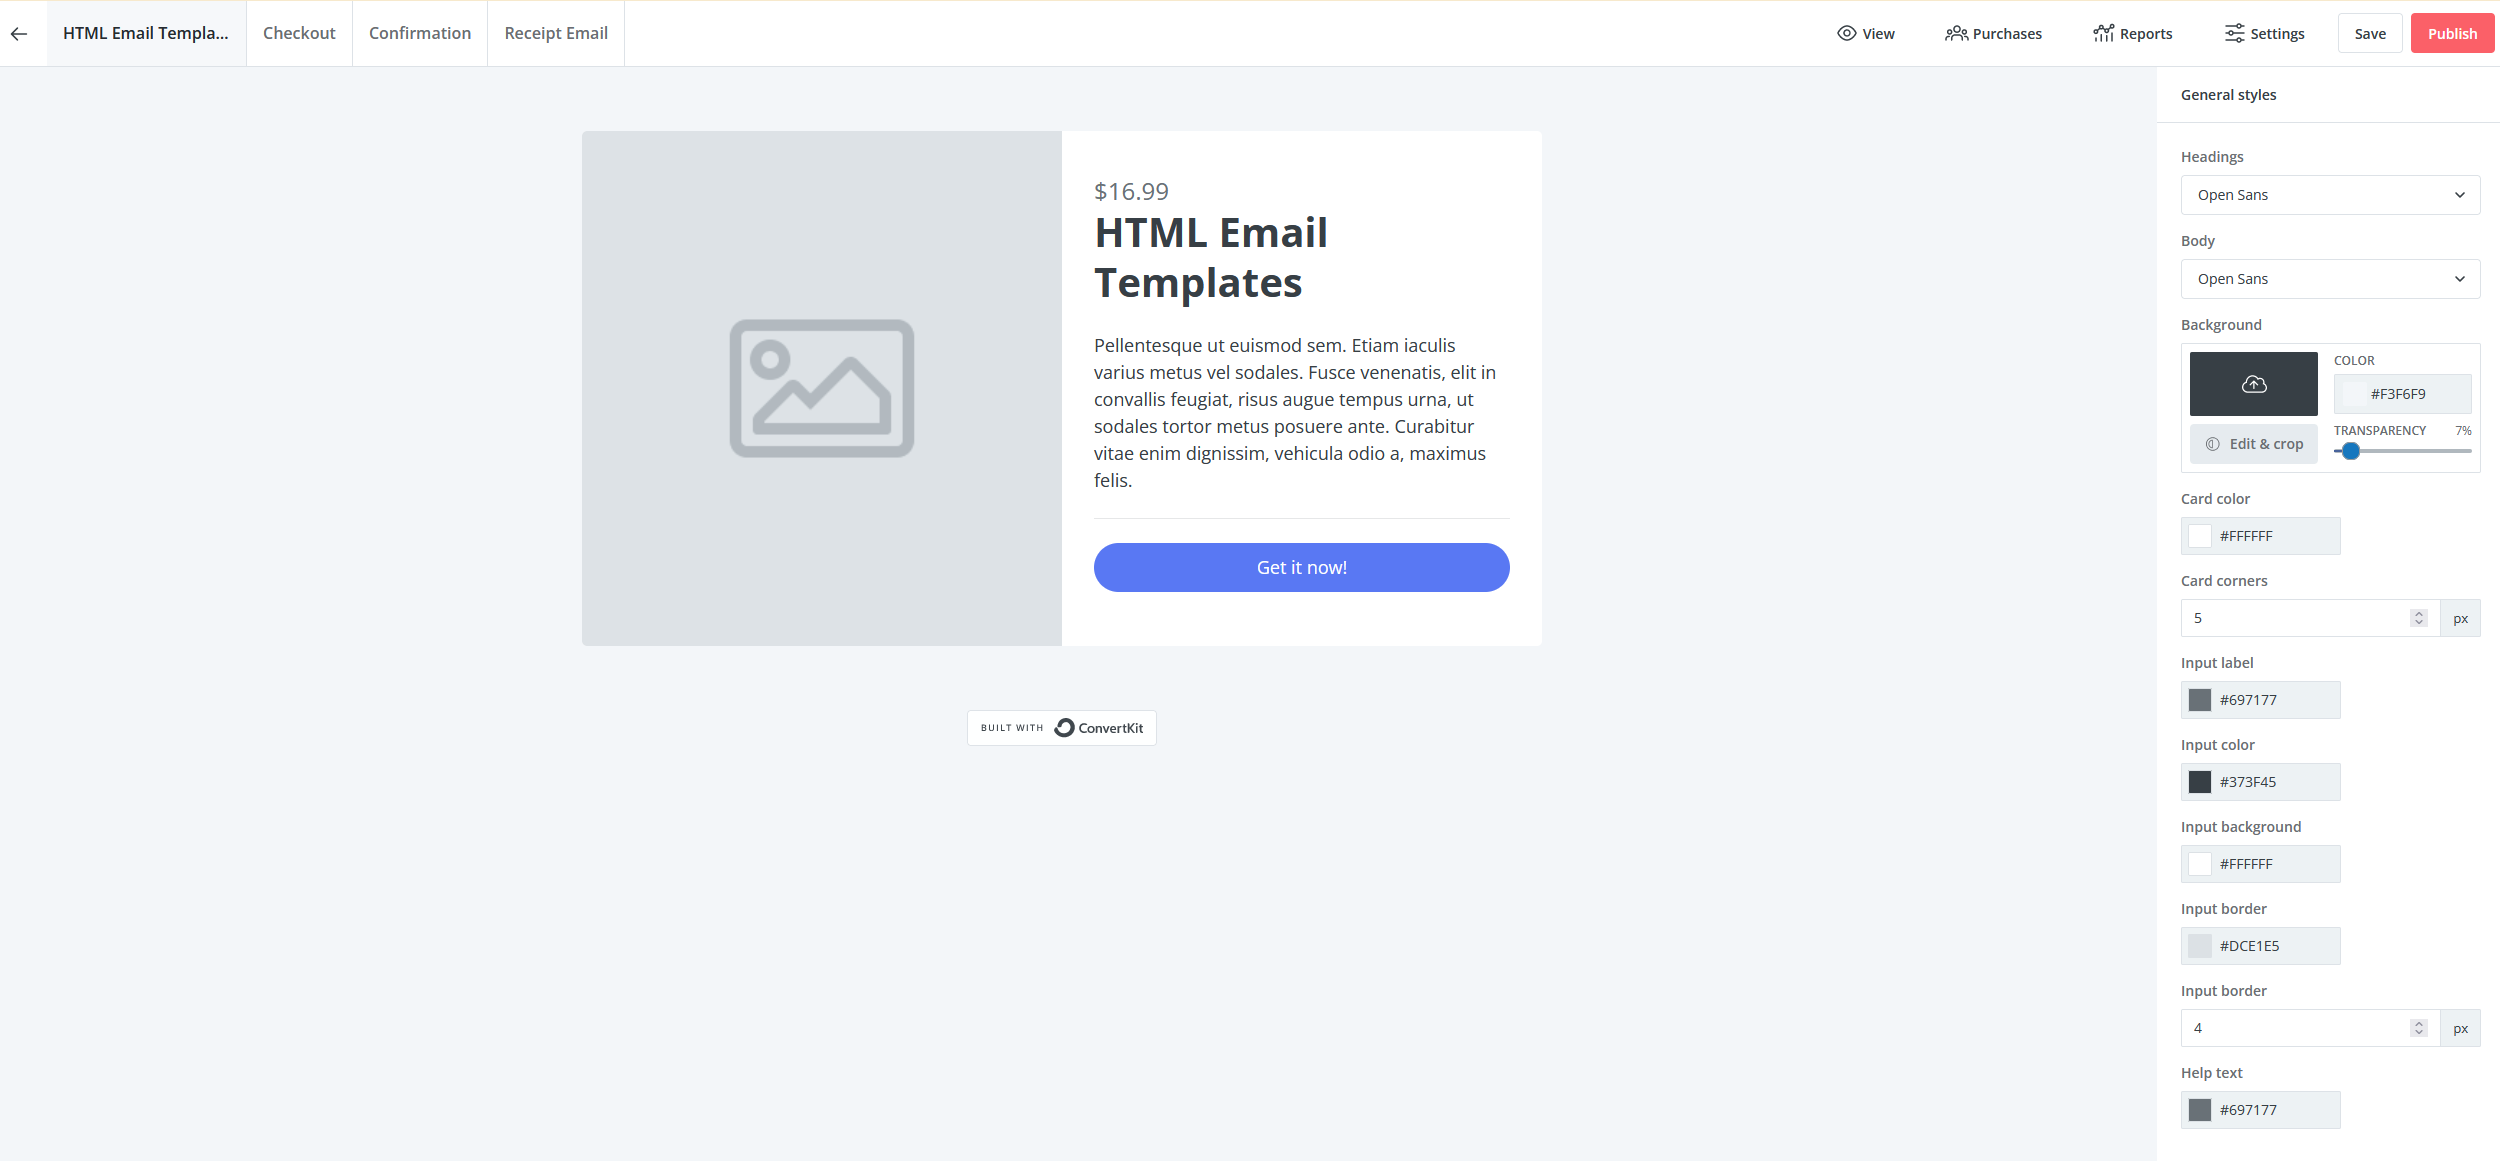
Once done, click the “Save” button on the top right corner to save all your changes.
Configure checkout page
Click “Checkout” tab at the top.

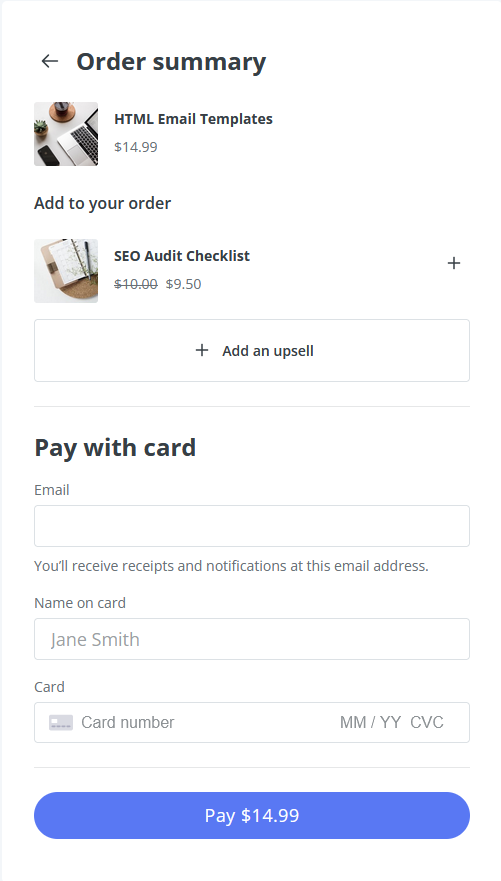
This is the Checkout page that your customers will see:
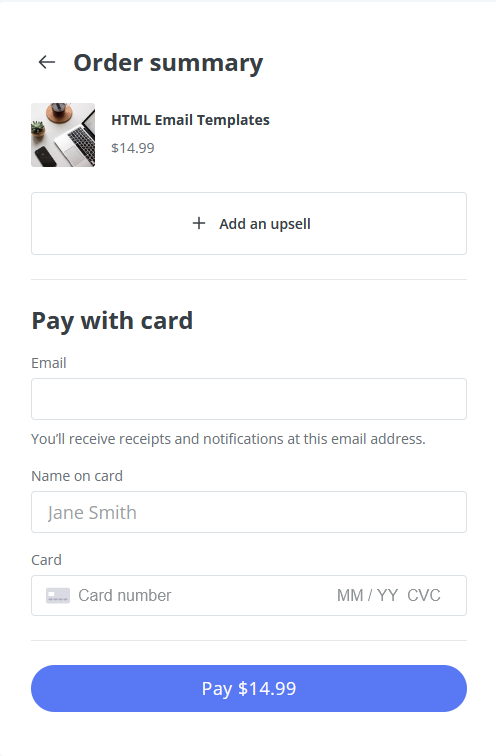
You can add an upsell product with or without discount.
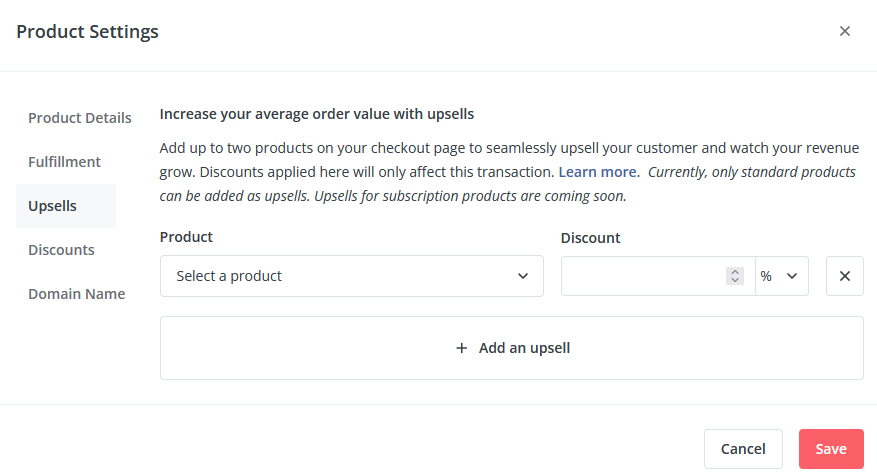
This is how a upsell product with 5% discount looks like:
Configure confirmation page
Click “Confirmation” tab on the top.

This is how a confirmation page looks like to your customers:
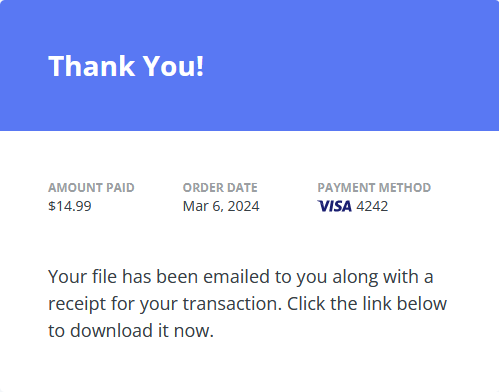
NOTE: you can customize the background color of the “Thank You!” section. You can change the texts on the top and below.
Configure receipt email
Click “Receipt Email” tab on the top.

This is the email that will be sent to your customers after they purchase. You can change the copy “Your order…”.
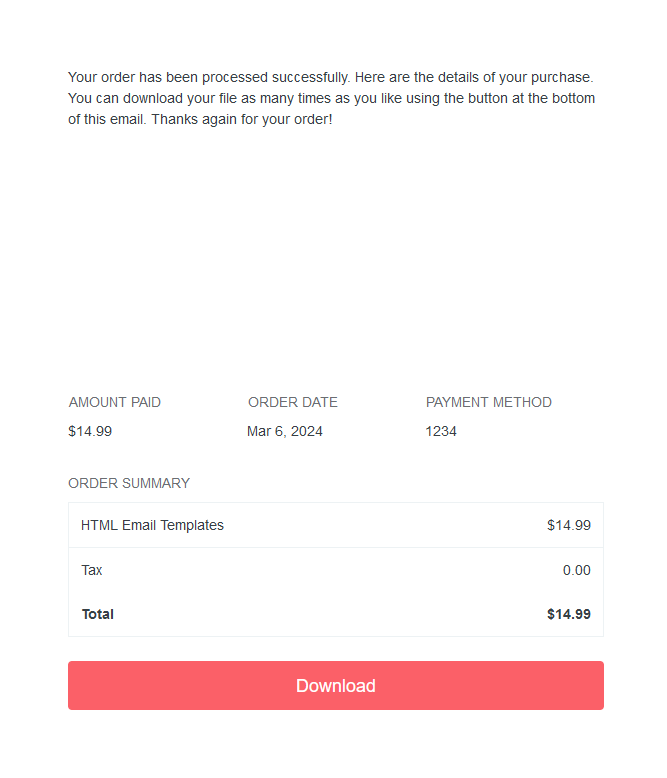
NOTE: The Download button only appears if you chose ‘A Digital Download’ as your product fulfillment method.
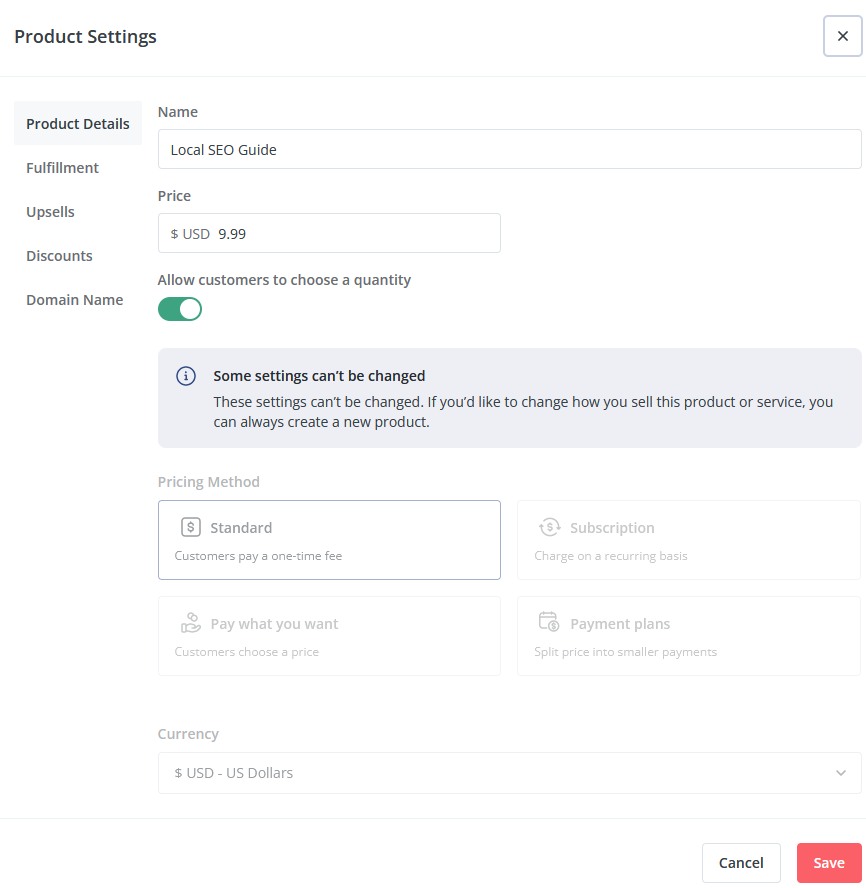
Change product information
Anytime, if you want to make changes to the product, you just need to choose the product, then click the “Settings” on the top right corner (next to the save button), make changes and save.

Publish product
Once you’re happy with the product, click the red “Publish” on the top right corner to publish the product.

Voila! Now you can start sharing the link to the product and making money!
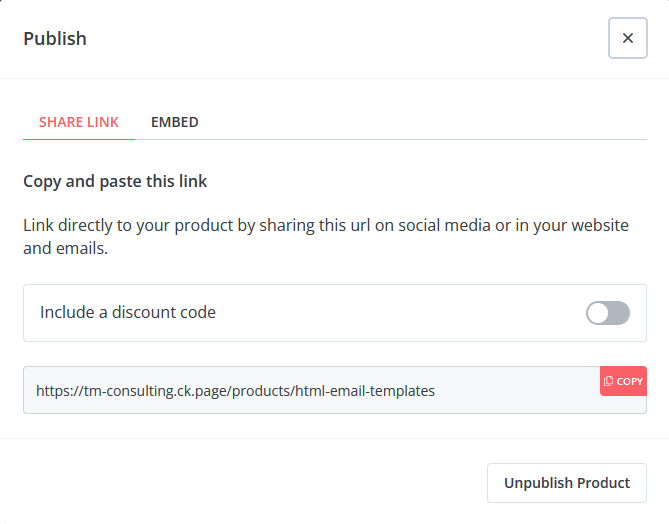
Share a direct link to the product
Once “Publish”, from the window that pops up, you can grab the direct link to your product to share in your newsletter, social media etc.
Purchase the product from the website
If you wan to sell the product from your website, grab the JavaScript code under the “embed” tab and place it where you want the “buy my product” button to appear.
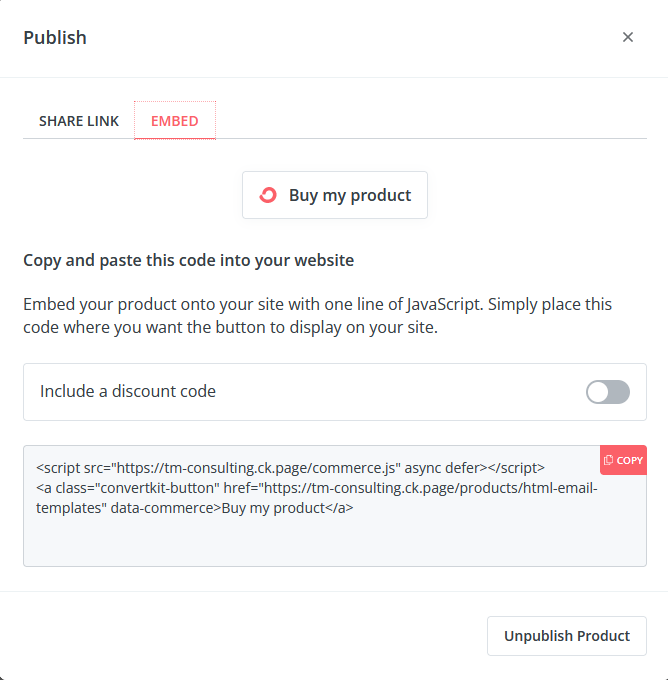
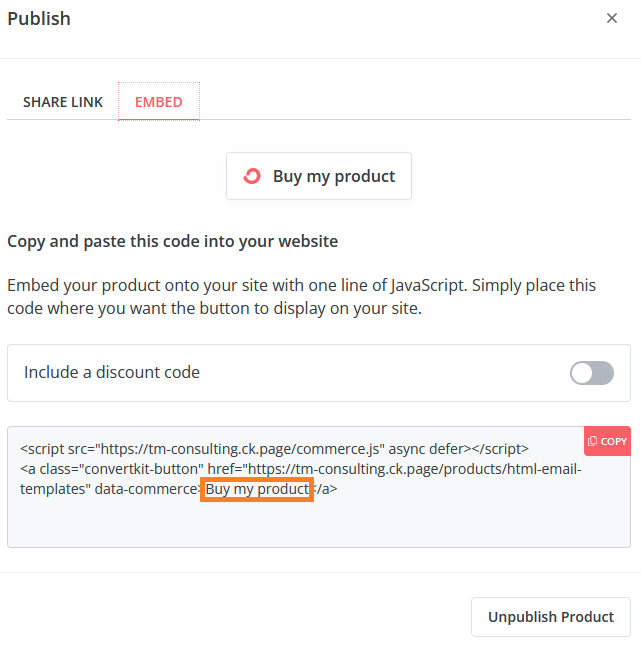
NOTE: you can change the text “Buy my product” between <a> </a>:
Add product to freebie funnel
Assume a freebie funnel already exists in ConvertKit. Otherwise, this post demonstrates how to do so step by step.
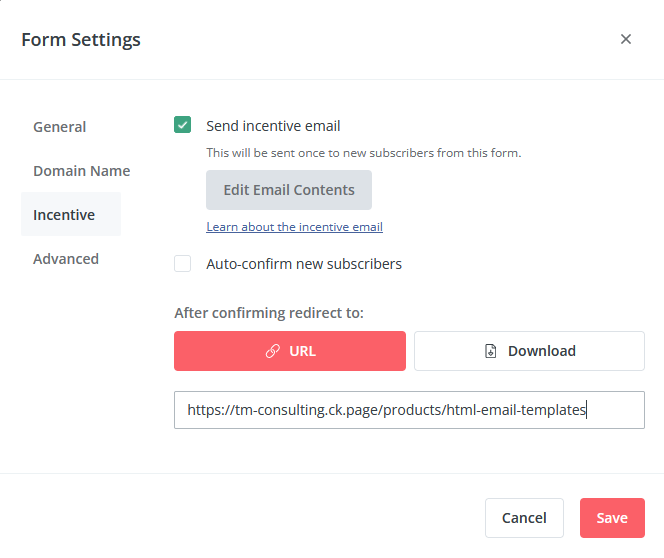
Locate the form or landing page created for the freebie offering, open “Setting” on the top right corner of the navigation bar.

Under “Incentive”, add the product link from the previous step to URL under “After confirming redirect to:”. i.e. For the freebie subscribers, once they sign-up, they will be re-directed to the product page for them to consider.
In order not to surprise your freebie subscribers, it’d better mention in the email sent to subscribers that they will be redirected to a product promotion page. To change the email content, click “Edit Email Contents”.
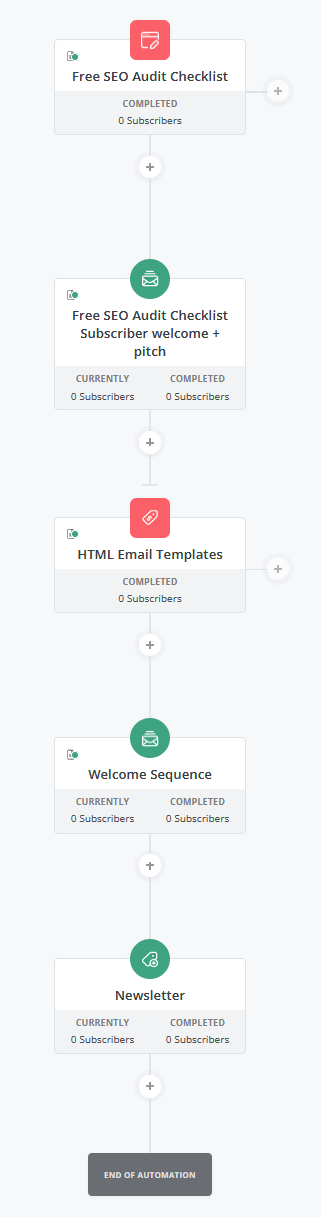
Alternatively, if you don’t want the subscribers to be re-directed to the product page, but still want to add the product to the freebie funnel. You could do so using visual automation. It could look like this:
After subscribers join “Free SEO Audit Checklist” form, they will receive an email sequence including welcome emails and product pitch email. If they decide to purchase the product “HTML Email Templates”, they will receive a welcome email sequence. Additionally, they will be assigned a tag “Newsletter”.
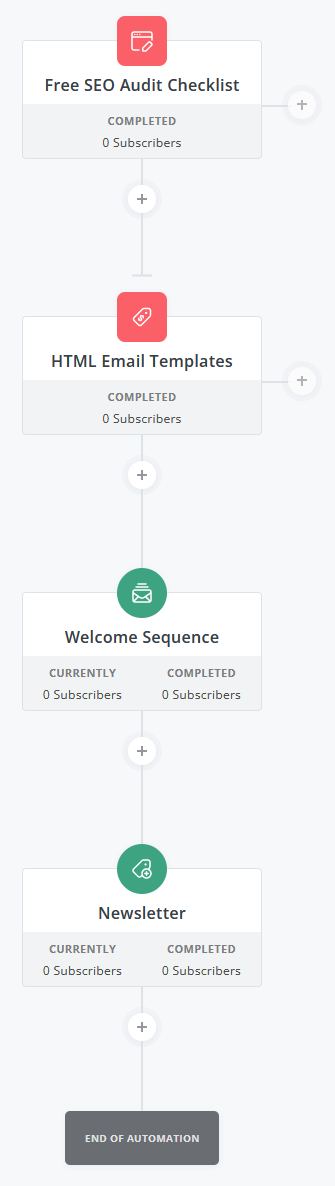
Add buyers to newsletter funnel
Create a visual automation: When subscribers join “Free SEO Audit Checklist” form, if they also purchased the product “HTML Email Templates”, they will receive an email sequence to welcome them. Additionally, they will be assigned a tag “Newsletter”.
That’s it! The product buyers are now part of your newsletter list. When you create your next newsletter and send it out. They will also receive it.